Halogene's Newbie Corner - Part 4: The Core Weapons
Posted by Halogene on December 18, 2012
Edit: Visit the complete and updated tutorial here
Now that I’ve bored everyone to death with nifty movement tricks, let’s have a look at what everyone is keen on getting its hands on when it comes to first person shooters:

In this blog post I’ll explain the functions of the core weapons.
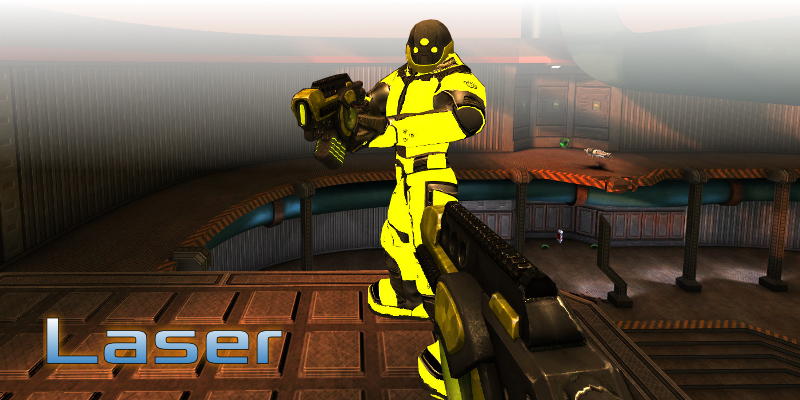
I already explained the laser as versatile movement tool in Part 2 of my Newbie Corner. Apart from moving yourself around, you can also use it for juggling around other players, irritating annyoing campers or generally messing with other people’s movement. Pushing people around or forcing a prolonged bunny hop can be especially effective on space maps. Unless shooting at sitting ducks (such as campers), you might want to aim at your target’s feet to make use of its splash damage, as the laser projectile needs some time to travel even though it is rather fast, thus aiming directly at moving targets can be rather tricky.
The laser does not eat any ammo. Secondary fire will switch to the previously used weapon.
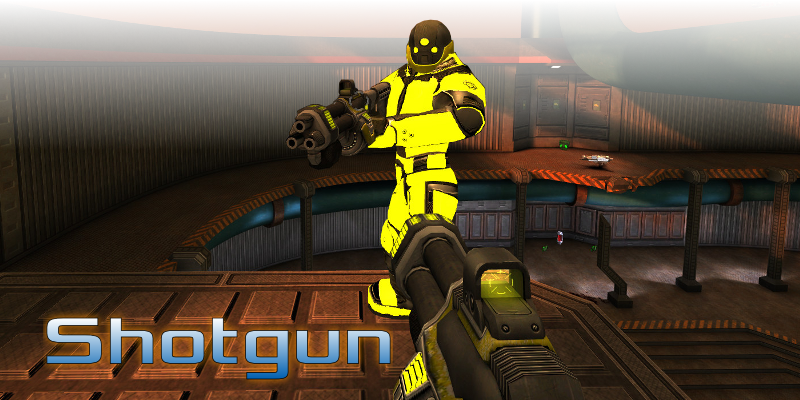
The shotgun is your second spawn weapon. Primary fire is very powerful in close combat and, due to the bullets’ spread and being insta hit, a useful finishing weapon at medium range. Note that the push force of primary fire will slow down targets moving towards you, which can be very effective on space maps at spots where players are supposed to touch down from distant jump pads. If you shoot them with shotgun while they are still flying, they probably won’t make it to their usual landing spot.
The secondary fire mode allows you to swing the shotgun like a big trout and to slap other players, which is, apart from dealing rather lots of damage, very much fun to do.
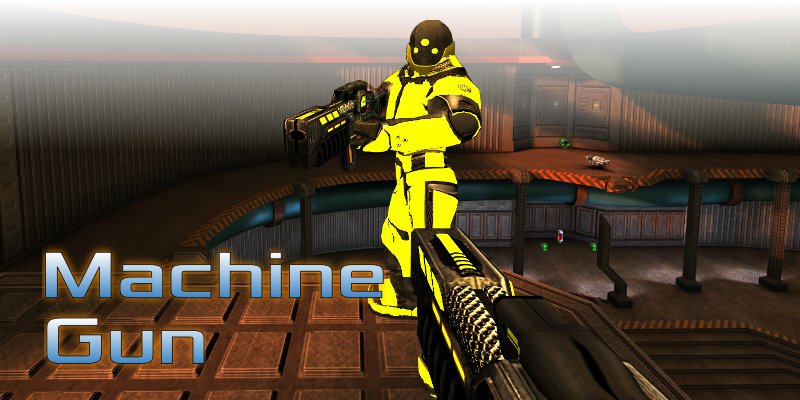
The machine gun’s primary fire has a high spread, so it’s useful mostly in close to medium range. Secondary fire has lower spread and shoots small bursts, which is more useful at medium to longer ranges. As the machine gun projectiles have a little push force and are fired rapidly, it can be quite useful for slowing down players that come at you at high speeds. In fact, it’s hard to get into slapping range of someone that has a steady aim as long as such player is firing the machine gun.
You’ll notice a ring around your crosshair that shows the depleting ammo. Once it is empty, the machine gun automatically reloads. To avoid running around with a couple of bullets only and having to reload in the middle of a battle (which takes far too much time), you can reload the machine gun manually at a convenient time by using the “reload” bind that you can set up or by re-pressing the machine gun bind while already wielding the machine gun.
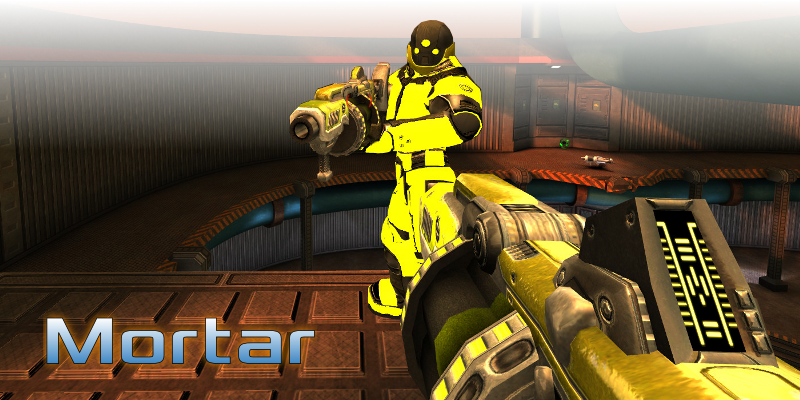
The mortar fires ballistic grenades which deal a lot of direct and splash damage in addition to pushing the player away from the impact. Whereas primary fire detonates upon impact, secondary fire detonates exactly 0.5 seconds after the first bounce of the grenade. With this knowledge you can time the detonation of secondary mortar. Mortar is a very effective weapon against any non-flying targets and to spam around corners.
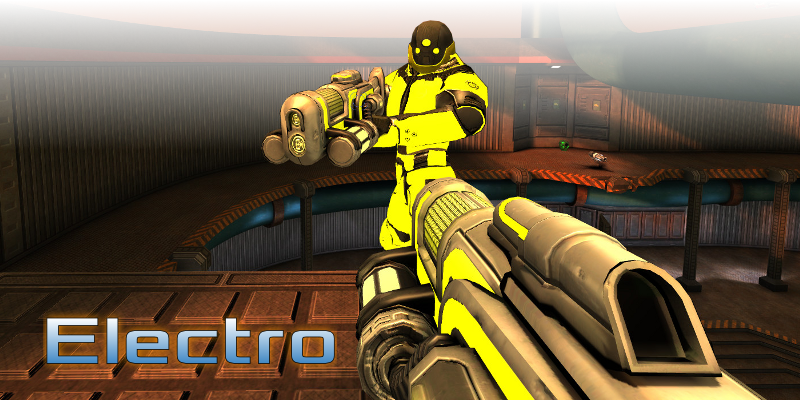
The electro primary behaves like an ordinary rocket launcher as you might know it from other games. However, it’s not really useful for doing high jumps. The secondary fire mode looks like some ordinary sluggish grenade like balls, but has a not so obvious special function: if you detonate the up to three blobs the secondary fire mode can release with primary fire, they will explode with a big WOOOSH that deals a lot of direct and splash damage (up to 130 dmg!). This makes the electro especially useful for blocking entries, releasing upon several opponents that are busy fighting each other or spamming where you predict someone to come.
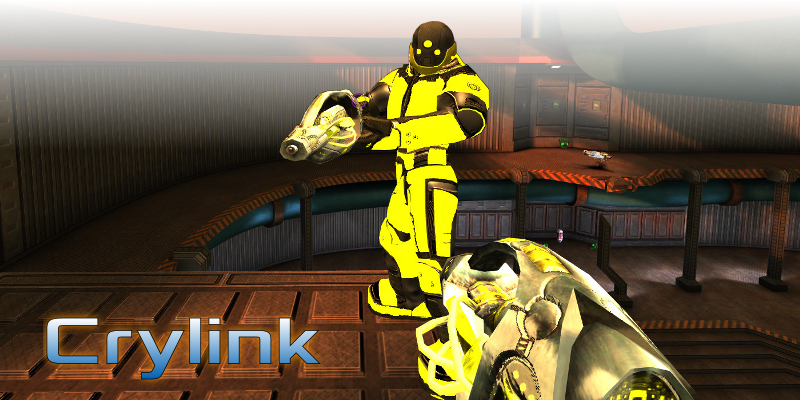
The crylink has a couple of very non-obvious features, which makes this weapon rather interesting and unique. First of all, getting hit by crylink particles will slow you down very much, no matter of the direction you’re moving in in relation to the firing player. Even if you move at insane speeds, getting hit by several crylink particles at once will make you perform a full stop. This makes the crylink very popular amongst defending CTF players, as you can really annoy fast flag runners with it provided you manage to hit them.
The latter can, however, be quite tricky, given the high spread crylink primary has. Fortunately, crylink has another feature that is very unlikely to be discovered unless someone tells you about it: when you release primary fire, the spread of crylink primary will inverse. Let that sink in for a moment.
“When you release primary fire, the spread of crylink primary will inverse”
Got it? This means that if you press the primary fire button, the particles will get fired with a certain spread. As long as you keep the primary fire button pressed, the spread will stay constant. Once you release it, the spread inverses, which means all particles traverse a single spot. Now the trick is to time the release so that all particles hit the opponent, or at least are NEAR to the opponent. Why to be at least near the opponent? Because once ONE crylink particle of a shot detonates (i.e. hits a player), ALL of them detonate. And crylink does most of its damage per splash damage.
Crylink secondary does not have the spread inversion feature. As of the autobuild version (which many servers already use), crylink secondary will not bounce, but also slow down and moderately damage other players. Players within a certain range of the particles’ explosion will get dragged towards it, so you can also use that to move players around a bit. In Xonotic’s official 0.6 release, the crylink secondary is a rapid fire of low spread, one-time bouncing and very low damage particles which proved to be of little use given the high ammo cost and low damage.
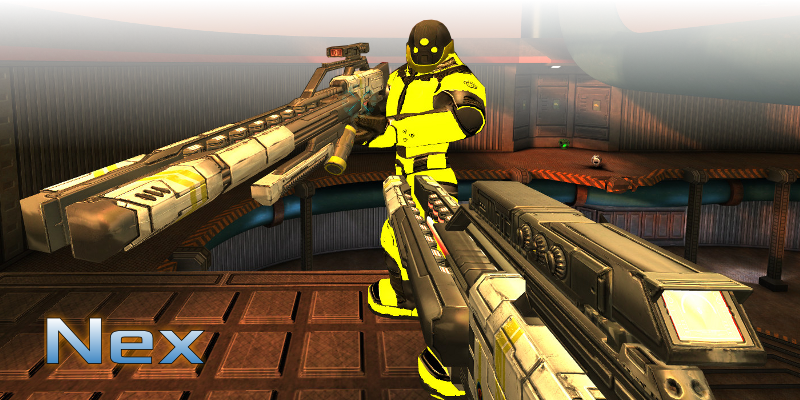
In the hands of a player with a good aim the nex is probably the most powerful weapon in the entire game. It fires a single beam with zero spread that will instantly hit anything in its way and will even shoot through other players. You’ll notice a small ring around the crosshair when holding the nex in your hands. If the ring is full, the nex is charged (and also starts to glow red). Charging happens automatically once you hold the weapon, and it does not cost any ammo. Upon firing, the nex obviously discharges and starts to recharge unless you switch to another weapon (what you should do, but more about weapon combos in the next issue). If charged, the nex deals 90 dmg, if you shoot with it immediately again, it deals 70 dmg, minimum damage you can deal with nex is 56 (if you switch to another weapon immediately after shooting and then shoot nex immediately after reswitching to nex, so it doesn’t have the refire time for recharging).
Secondary fire only zooms in, as the weapon is strong enough as it is even without a secondary fire mode (in before balance flame war ;)).
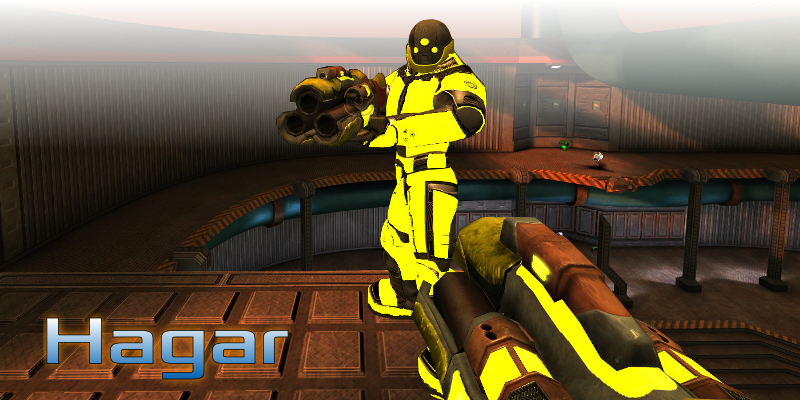
The hagar rapidly fires small rockets with a high spread. By holding secondary you can load up to 4 rockets that you can fire simultaneously by releasing secondary fire. If you hold secondary fire too long, hagar will make a little beep and automatically release the loaded rockets so you can’t run around the map and just keeping hagar loaded all the time until you find someone. Unloading hagar secondary can deal a lot of damage at close range, however you’ll need to watch out not to get killed yourself by the splash damage it does. Otherwise the high spread makes this weapon most usefull against opponents standing next to a wall so the rockets that miss will at least do splash damage. On most competitive servers you’ll be able to discharge the hagar secondary without firing the rockets by pressing primary again while still holding secondary.
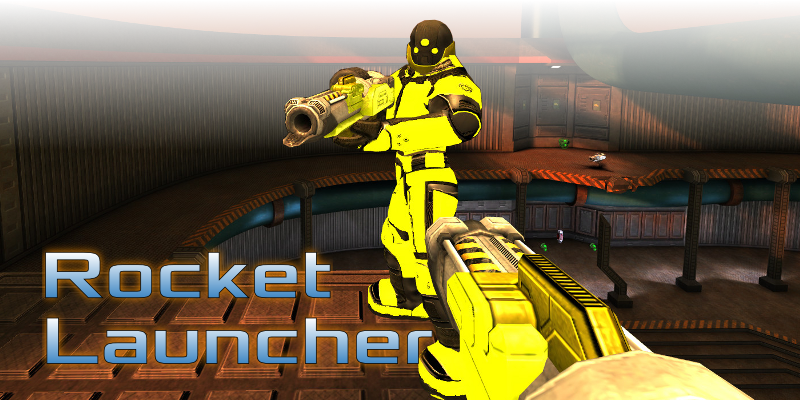
The rocket launcher also has some very interesting features that are not very typical for this kind of weapon. First of all you can use the secondary fire to immediately detonate remotely any rocket you fired (provided of course it is still flying). No need to hit a flying target directly, just get the rocket near and, BAM, there you go. Apart from the high splash damage, the explosion also deals quite a lot of push force, so if you want to push some flying player off the map, rocket launcher is your weapon of choice as you can not only push players away from you (push direction obviously depends on the explosion’s position in relation to the player).
But not enough, you can of course also use the rocket launcher to push YOURSELF around. If you happen to be flying and need some extra acceleration but there is no wall near to laser yourself off, just shoot a rocket downwards and immediately detonate it. Yes, it hurts. A lot. But it might be worth it, be it to push you back onto the map if you are falling into the void or to prolong a laser jump so you manage to reach a distant location. This technique is called “rocket flying”.
You think I’m already done with the rocket launcher? Not yet! In addition to this already very useful feature to remotely detonate your rockets you can also GUIDE the rockets. Just keeping the primary fire button pressed and moving the mouse enables you to do some interesting stuff which can come in very handy in all sorts of situations.
Of course you can combine rocket guiding and remote detonation.
That’s it, I hope to have been able to provide some insight into the functions of the core weapon set. For a more comprehensive overview of all the weapons that are available in the game and basically a general introduction to Xonotic see the basic basics thread on the Xonotic forums, which also gets updated every now and then. In the next issue of this newbie corner I’ll be providing general weapon usage and probably some additional gameplay hints. So long, stay tuned and have fun!
Xonotic is a fast paced first person shooter where
crisp movement, nuanced weapons, and in-your-face action
combine to create addictive arena-style gameplay.
Xonotic is free to play and modify under the
copyleft
GPLv3+ license.
Download it today!