Capturing Your Favorite Xonotic Moments
Posted by Antibody on June 26, 2014
Over the past few days I’ve been experimenting with custom screenshot binds and demo recording to make capturing and sharing my favorite Xonotic moments as seamless as possible. The issue I am trying to solve is one you’ve likely encountered if you’ve been playing for a while: having figured out how to record snippets of your demos (cl_capturevideo 1/0), what’s the best way to keep track of when to hit the record button? Even more troubling, what video recording settings yield a good space and encoding time to quality balance? I believe I’ve found simple ways to achieve both of these things. Read on for the details.
 The Core Problem
For the sake of this discussion, let’s assume the scenario is that I want to capture frags to make a “highlight reel” video that I could then share with my friends. The problem is that I have a bunch of demos sitting on my hard drive along with a hand-tabulated list of times in which my highlight-worthy frags happened. Pairing these two together is a highly manual (read: annoying) process - I have to bring up Xonotic and fast forward through the demos until the alotted time so I can capture only the pieces of interest and nothing else. While it is great to watch all of these demos and reminisce about the fun times I’ve had, I’d rather be back out on the servers making more memories!
 The Setup
There are two things that can ease the process. The first involves tuning the default recording profile that comes with Xonotic. While the out-of-the-box settings are sufficient for viewing what you’ve done in game, they are far from the production quality that we want to put up on YouTube. What we want is something that saves us disk space, encodes quickly, but all the while looks superb. Fortunately a few simple cvar changes can make that happen. Enter the following in your config.cfg (in ~/.xonotic/data/ on Linux, $YOUR_USER/Saved Games/xonotic/data on Windows):
cl_capturevideo_fps 60
cl_capturevideo_ogg 1
cl_capturevideo_ogg_theora_quality 63
cl_capturevideo_ogg_theora_bitrate -1
cl_capturevideo_ogg_theora_keyframe_bitrate_multiplier 2
cl_capturevideo_ogg_theora_keyframe_maxinterval 500
cl_capturevideo_ogg_theora_keyframe_mininterval 1
cl_capturevideo_ogg_theora_keyframe_auto_threshold 80
cl_capturevideo_ogg_theora_noise_sensitivity 0
cl_capturevideo_ogg_vorbis_quality 10
These changes essentially max out the builtin ogg-theora settings that ship with Xonotic. I’ve found they produce a great balance of quality and speed.
The second piece of the puzzle is an easier way to connect the timestamp values of highlight-quality frags with the demos in which they happened. One way to do this is to take a screenshot right after you make such frags during games. This has the advantage that Xonotic provides the bind for taking the screenshot (F12) out of the box, so you simply hit a key after you have a highlight frag to record the moment. The problem with this is that you have to manually cross-reference the screenshot’s filename with your demo filenames to figure out when and where you need to hit the record button. This is messy and error-prone. What we’d really like is a screenshot name that contains the map name and the wall-clock timestamp when it was created. It would be even better if we could also capture the in-game timestamp of when the frag occurred for precise timing (since in-game clocks don’t tally the time spent in warmup mode). Finding the right demo and time then becomes a breeze with this information at our disposal.
Fortunately there’s a simple bind script that can easily get us this information. Place the following into your config.cfg:
alias topfrag_ts "prvm_globalget client time  _thetime"
alias topfrag_cmd "scr_screenshot_name \"topfrags/${cl_worldbasename}-${_thetime}-\"; wait; screenshot; wait; scr_screenshot_name \"$scr_screenshot_name\""
alias topfrag_ss "topfrag_ts; topfrag_cmd;"
bind BACKSPACE "topfrag_ss"
What this does is set up a special screenshot command that binds to the backspace button. When you hit backspace in-game, a jpg file will be created in your Xonotic “screenshots/topfrags” directory with a file name that contains the map name, the wall clock time, and the in-game timestamp. Easy! It is now dead simple to cross reference your highlight frags with the demos you made them in. The remaining piece is just for you to record them using the times provided.
 Recording
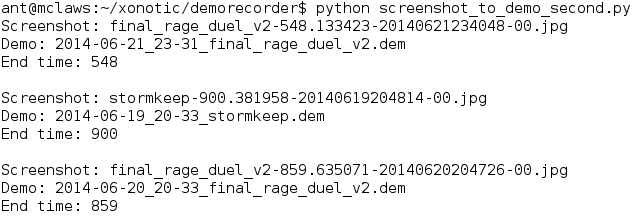
At this point you have a command that sends specially-formatted screenshots into a directory. Having collected a bunch of these screenshots, you now probably want to record the sweet, sweet frags they represent for posterity’s sake! Fortunately, this is the relatively easy part. The first step involves mapping the screenshots to their respective demo files. While you can eyeball the screenshot to demo relationship manually, I prefer using a simple Java application to do the mapping for me. If you choose to use this, make sure to follow the build and configuration instructions in the README. Note: this step was previously a Python script which is now deprecated.
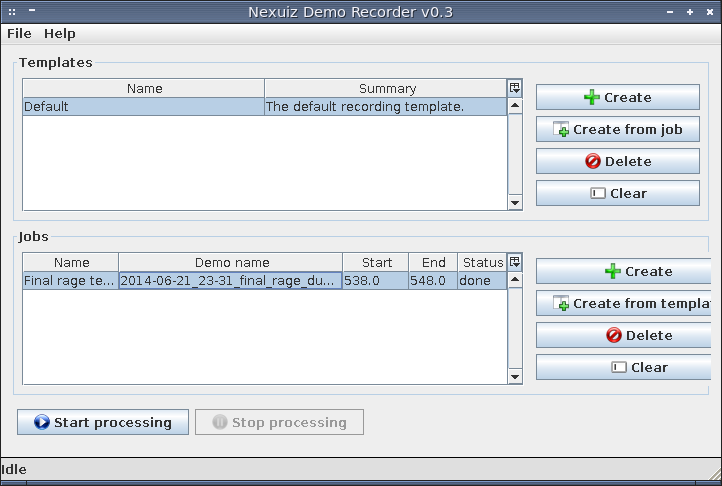
The last piece to the recording process is telling Xonotic to render our demos into playable videos. This is done most efficiently with Xonotic Demo Recorder by GreEn`mArine. For the rest of this post, I’ll illustrate this process.
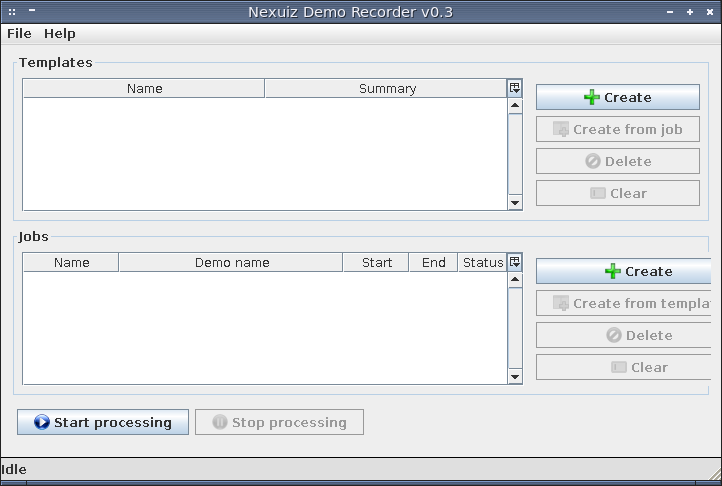
First you bring up the demo recorder with java -jar NexuizDemoRecorder-0.3.jar from your console of choice.
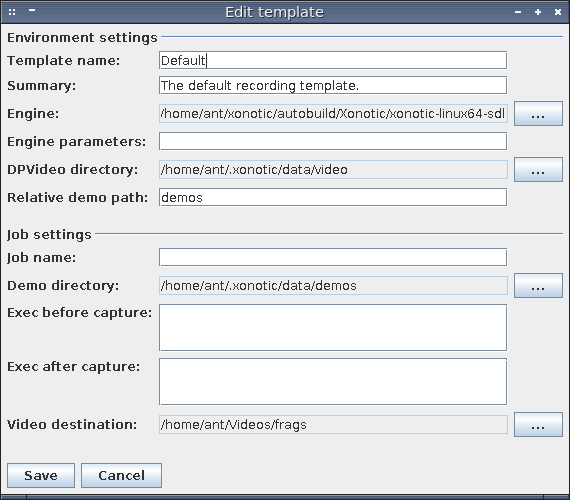
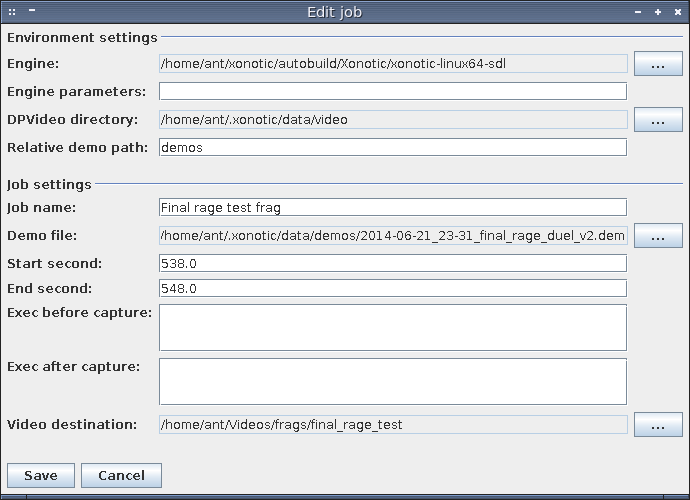
Repeat this process of adding jobs - using the template to make your life easier - until you are done with all of the clips you wish to render.
Start the render by hitting the “start processing” button at the bottom and you’ll have the material for your YouTube video before you know it!
Xonotic is a fast paced first person shooter where
crisp movement, nuanced weapons, and in-your-face action
combine to create addictive arena-style gameplay.
Xonotic is free to play and modify under the
copyleft
GPLv3+ license.
Download it today!
